How to Add Multiple Images at Once
Save time when uploading blog posts or featuring new content on your website with this simple and easy trick to add multiple images at once to your site without creating a bunch of image blocks!

Save time when uploading blog posts or featuring new content on your website with this simple and easy trick to add multiple images at once to your site without creating a bunch of image blocks!
In this video I cover:
Ways to use the gallery content block to save you time during the uploading process
Overview of the different display settings for your gallery content block
Show Notes
0:30 Editing blog post
0:42 Adding gallery content block
1:08 Selecting multiple images to upload
1:39 Linking images
The following information was created for use with templates made with Squarespace 7.0.
Stay tuned for more tips and tricks for the new 7.1 platform!


Create an Instant Download Opt In
In this tutorial, you'll learn how to create an INSTANT download opt-in after someone signs up for your newsletter. This allows someone to immediately download the opt-in file vs. waiting to receive it via email.
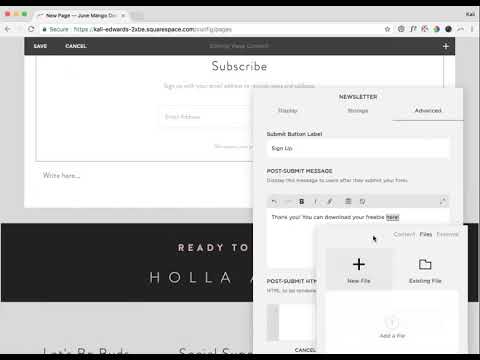
In this tutorial, you'll learn how to create an INSTANT download opt-in after someone signs up for your newsletter. This allows someone to immediately download the opt-in file vs. waiting to receive it via email.
In this video I cover:
How to set up your email newsletter
Ways to properly upload your instant download opt in for website visitors
Show Notes
0:27 Creating newsletter block
1:20 Adding opt-in download
1:58 Linking your download
The following information was created for use with templates made with Squarespace 7.0.
Stay tuned for more tips and tricks for the new 7.1 platform!
Adding Instant Downloads: PDFs, images, zip files, etc
Share freebies, wallpapers, PDFs and more through instant downloads on your website. This content is great for driving traffic to your website and sharing on social media.
Share freebies, wallpapers, PDFs and more through instant downloads on your website. This content is great for driving traffic to your website and sharing on social media.
In this video I cover:
How to link text, images or buttons to your instant download
Different types of files you can upload as instant downloads on your site
Show Notes
0:52 Linking download file to text
2:02 Linking download file to button
2:27 Linking download file to image
The following information was created for use with templates made with Squarespace 7.0.
Stay tuned for more tips and tricks for the new 7.1 platform!
Adding a Logo and Favicon to Your Website
Incorporate your branding into your website through uploading your favicon and logo to your Squarespace website. Review the tutorial below for steps on how to add these files into your design!

Incorporate your branding into your website through uploading your favicon and logo to your Squarespace website. Review the tutorial below for steps on how to add these files into your design!
In this video I cover:
How to access your logo and favicon setting in Squarespace
Uploading your branding to your website for your logo and favicon
Best practices for favicon file sizes
Show Notes
0:20 Accessing your logo and favicon
0:45 Adding your logo file
0:50 Adding your favicon
1:02 Ideal favicon sizing
The following information was created for use with templates made with Squarespace 7.0.
Stay tuned for more tips and tricks for the new 7.1 platform!

Importing WordPress Posts and Pages
If you are making the move from WordPress to Squarespace, there are a few steps you can take to transfer that content from your previous website to your new one. Through this tutorial I walk you through that process, take a look below!

If you are making the move from WordPress to Squarespace, there are a few steps you can take to transfer that content from your previous website to your new one. Through this tutorial I walk you through that process, take a look below!
IN THIS VIDEO I COVER:
How to access your Wordpress content and export for Squarespace
How to properly upload your Wordpress content file
Show Notes
0:20 Importing content from Wordpress
0:56 Troubleshooting import with XML file
1:20 Locating XML file in Wordpress
1:55 Uploading XML file
The following information was created for use with templates made with Squarespace 7.0.
Stay tuned for more tips and tricks for the new 7.1 platform!

Hiding and Password Protecting Pages
Sometimes your content needs to be protected. Creating password protected pages on your website can be the perfect solution. Through this tutorial, I share how to create these pages on your site and why they can be used for.

Sometimes your content needs to be protected. Creating password protected pages on your website can be the perfect solution. Through this tutorial, I share how to create these pages on your site and why they can be used for.
IN THIS VIDEO I COVER:
How hide a page from your main navigation
Adding a password to your unlinked page
Ideas for your password protected or hidden page
Show Notes
0:18 Moving page to “Not Linked” section
0:52 Adding a password to hidden page
The following information was created for use with templates made with Squarespace 7.0.
Stay tuned for more tips and tricks for the new 7.1 platform!


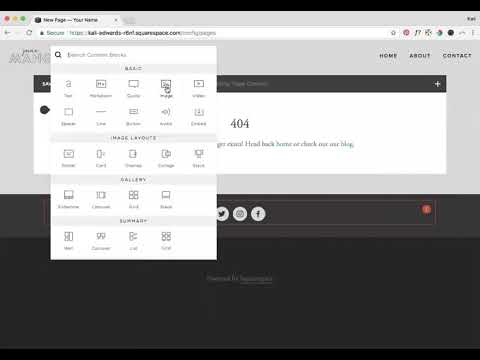
Create and Link a Custom 404 (aka: error) Page
Every once and a while, a website visitor can enter a URL for your website incorrectly or click on a link that no longer exists on your website. Don’t let those non-exist pages, pull people away from your site. Create a 404 (aka: error) page to bring people back to the place they need to be. See more through the tutorial video below!
Every once and a while, a website visitor can enter a URL for your website incorrectly or click on a link that no longer exists on your website. Don’t let those non-exist pages, pull people away from your site. Create a 404 (aka: error) page to bring people back to the place they need to be. See more through the tutorial video below!
IN THIS VIDEO I COVER:
Why your website needs a 404 page
What you should include on your error page
Connecting your 404 page to display correctly
Show Notes
0:41 Adding new 404 page
1:20 Adding and linking text on 404 page
2:40 Adding branded content to 404 page
3:45 Connecting 404 page
The following information was created for use with templates made with Squarespace 7.0.
Stay tuned for more tips and tricks for the new 7.1 platform!


Streamline Your Website's Style All in One Place
Simplify your site styles and update your design settings all in one place. No more clicking through multiple pages trying to figure out how you are going to make your button styles look. This tutorial was a game changing trick for my business and I am excited to share it with you!

Simplify your site styles and update your design settings all in one place. No more clicking through multiple pages trying to figure out how you are going to make your button styles look. This tutorial was a game changing trick for my business and I am excited to share it with you!
IN THIS VIDEO I COVER:
Quick and easy way to update your site styles
How to save time during your design process
Show Notes
0:52 Creating a style page
1:10 Adding headers
1:35 Adding buttons
1:58 Adding images
2:35 Using Style Editor to customize elements
5:30 Adding content blocks to style page
The following information was created for use with templates made with Squarespace 7.0.
Stay tuned for more tips and tricks for the new 7.1 platform!
Mobile Layouts Explained
As much as I love a good desktop design for a website, so many people are viewing your content on a mobile device. In this video I explain the process of making your website design mobile-friendly and how to double check if everything looks good for your mobile visitors!

As much as I love a good desktop design for a website, so many people are viewing your content on a mobile device. In this video I explain the process of making your website design mobile-friendly and how to double check if everything looks good for your mobile visitors!
IN THIS VIDEO I COVER:
What mobile browsers are
How to check your site on a tablet
How to check your site on a phone
Show Notes
0:28 Navigating to mobile view
1:08 Checking layout with browser
1:45 How mobile layouts work
The following information was created for use with templates made with Squarespace 7.0.
Stay tuned for more tips and tricks for the new 7.1 platform!
WANT to CREATE
a custom WEBSITE?
Editing Your Website's Footer
Your website footer can be the home for all types of quick links and information your site needs. Learn what you should include in your footer and how to update this section of your design through this tutorial!

Your website footer can be the home for all types of quick links and information your site needs. Learn what you should include in your footer and how to update this section of your design through this tutorial!
IN THIS VIDEO I COVER:
How to make your website look more professional with footer content
Suggestions on what to include in your footer
Show Notes
0:34 Editing footer
0:43 Deleting text box
0:50 Styling the footer
WANT to CREATE
a custom WEBSITE?


Squarespace SEO: The Basics
Search Engine Optimization is crucial for getting your business at the top of searches and in front of potential clients, customers and more. There are a few basic practices that you can implement starting today to get you start. Most of these steps are pretty straight forward, but we are going to break down why and how you should have these completed on your website.
Search Engine Optimization is crucial for getting your business at the top of searches and in front of potential clients, customers and more. There are a few basic practices that you can implement starting today to get you started. Most of these steps are pretty straight forward, but we are going to break down why and how you should have these completed on your website.
1. Make Your Page Titles SEO Friendly
Don’t have generic page names. Incorporate keywords and phrases that can increase your visibility online! For example, instead of just using ‘About’ for a page title, try ‘About the Designer.’
2. Fill Out Your Business Information
You may have created your website in a rush to just get something up or focused so much on the design elements, you might have neglected this important must-have. Add to your Business Information setting to help with local search ability and increase the use of keywords. Access this through your Squarespace settings menu and select Business Information.
3. Refine Your File Naming System
No more ‘screenshot124.png’ for file names! Optimize files with specific keywords and relevant tags. If you are adding a photo to your web design portfolio make sure it has a strong file name. Something like ‘Web-Design-Creative-Portfolio’ will do great.

4. Spread the Local Love
If you are a local business or storefront, you MUST include your local town or city name throughout your website. You want to have SEO keywords that target your specific geographic area, especially if this a key factor for your business.
5. Get Descriptive
For every product and page that you have on your Squarespace site, double check to make sure that you include rich descriptions to increase your SEO. Product descriptions are available to be written through your shop menu. See an example of one of my product descriptions below! To update your page descriptions, select the gear icon next to your page name in your Squarespace pages menu. There will be a section towards the bottom to update that information!

These are just a few to get you started! Another quick tip before you begin is to develop a list of your business keywords and phrases to reference through each step to help you with the writing process.
Have any questions? Let me know!
The following information was created for use with templates made with Squarespace 7.0.
Stay tuned for more tips and tricks for the new 7.1 platform!
Related Posts


How to Get Your Website Ready to Launch
You’ve done the hard work and prepared a website that you are ready to share with the world. But before you go live, you may want to check out of a few of these things first. Use this guide to get your website ready to launch!
You’ve done the hard work and prepared a website that you are ready to share with the world. But before you take your new, shiny website live, you should run through what I call a “launch list” first. Some of these items may be more necessary than others, but certainly all steps are recommended to to make sure your website is ready to launch!
✴ Step One - Finalize Your Site’s Design + Style
Make sure you have your site title and logo set. Your logo can replace your site title in your website design, but your site title will be important for places like search results.
You can use the Site Style panel underneath the Design menu to get your fonts, colors, headings, spacing, etc. consistent and in line with your business branding.
Another thing to consider is adding in a cookie banner for your visitors, if you think their privacy is valuable to them. It is better to be on the safe than sorry side with this one (especially if you have ANY web visitors in Europe), so I encourage you to add a cookie banner into your final design.
Lastly, upload a favicon to show up in browser tabs for your visitors. This fun little detail shouldn’t be skipped!
✴ Step Two - Wrap Up Your Pages
Set a homepage that represents your brand and style well. Make sure this landing page has all of the major information covered and highlighted for your website visitors. This will be your first impression, so make it a good one!
Double check that your navigation is ordered how you want it. Consider how the user will view the site and make items like your Shop or Services page easily accessible.
Review your content for typos and while you are at it, check for broken links.
Finalize your URL slugs for all of your pages. Have them reflect the content that is available on the page. For example, you don’t want your contact page to have an odd url like /sendmeanote. Google would rather see a URL slug like /contact. In short, keep things simple and straightforward.
For bonus points, a custom 404 page is always a good idea in case visitors end up in the wrong spot. Direct them back to the home page from there.
✴ Step Three - Review Your Images
Check the quality of your images and make sure things are showing up clearly on your website. There is nothing worse than a pixelated image. Keep things crystal clear. Upload thumbnails to your pages and social sharing images that are branded and in line with the content you are sharing.
Make sure you also check images on your phone. Banner images get cropped into a square, so if you’re face is to the right side of your banner image, you may not even show up on mobile!
✴ Step Four - Check Domains and Integrations
If you happen to have more than one domain, make sure all URLs direct to the primary domain you want to use.
Have a friend double check newsletter sign-ups and form submissions to see that everything is running smoothly.
If you have other items integrated like social icon links or third-party codes, check that they direct visitors to the right pages and everything looks correct.
✴ Step Five - Get Your SEO in Check
This is an important one my friends. Do not, I repeat DO NOT, skip over this part. Learn more about SEO through one of my favorite blog posts to date.
✴ Step Six - Make Sure Your Online Shop is Ready for Shoppers
A few different steps for this one so I am going to break it down below. (Don’t have an online shop? Feel free to skip over this part!)
Add your payment processor so you can make that $$$.
Double check the tax rules that will need to be applied to your shop/products.
If you are offering physical products in your shop, you are going to need at least one shipping option available to your customers.
Try out a test order to see how the process looks for the user. From the check out page to email confirmation, see that everything is squared away.
Review your pricing again. Did you set everything at the right price point?
Turn off that test mode so you can start making some real sales!
Also consider a special promo or discount for when your site goes live to promote new shoppers!
✴ Step Seven - Hit Publish
Change your website visibility to LIVE and get ready to start sharing to the world!
Remove any page passwords if you have them, if you have a ‘website coming soon’ page take it down and if you need to invite or remove site contributors such as a copywriter or outsourced help, do so now.
Also do one last check on your mobile device since most visitors will be coming in through their phones or mobile devices!
✴ Step Eight - Celebrate!
Pop the confetti cannons, treat yourself to a happy hour, or leave the office early for the day. Find a way to celebrate and do it! You’ve earned it with all of the hard work you have put in. Congratulations!
BONUS!
To help keep up with everything listed above, I have designed a checklist for you! Print it out and keep it at your desk to make sure you have all of the boxes properly crossed off.
WANT to CREATE
a custom WEBSITE?

4 Ways to Use the Squarespace Pop-up Form (besides your newsletter)
Pop-up forms are a great way to engage your website visitors in a fresh way. This attention-grabbing feature can be customized far beyond the typical newsletter sign-ups. Use these ideas to figure out the best option for your business!

Pop-up forms are a great way to engage your website visitors in a fresh way. This attention-grabbing feature can be customized far beyond the typical newsletter sign-ups. Use these ideas to figure out the best option for your business!
Connect on social - Direct your website visitors to your social media channels where they can get to know you and your work even better! Get connected with them. Plus, make some new friends!
Terms, policies, consent, cookies - With the General Data Protection Regulation (GDPR) affecting businesses like yours and mine, ensuring you have your bases covered is a must. Integrating your pop-up to feature stuff such as your terms, policies, consent, cookies, etc. is a good idea. Make sure you do your research to determine which items are needed for your website!
Promote an event or launch - Do you have an upcoming calendar item? Share date details and how visitors can learn more through your pop-up. Lead them to a landing page with all of the information or get them signed up for a specific email to get what they need.
Feature a blog post - You’ve worked hard on your content, make sure people read it! Get more eyes to get on your tips and tricks with this type of “alert.” This will also engage visitors to keep exploring throughout your website.
So which pop-up to try first? Incorporate a rotation of all four to beta test which type works best for you.
The following information was created for use with templates made with Squarespace 7.0.
Stay tuned for more tips and tricks for the new 7.1 platform!
Related Posts
need even more help with squarespace?
Skip the overwhelm and have your website designed and launched in just 5 days (or less)!
LEARN MORE

HOW TO CREATE A RAINBOW TEXT EFFECT ON YOUR WEBSITE
Sometimes it's fun to just add a random, pretty effect to your website, just because. Because who doesn't like rainbows? And since the answer to that is "No one!", why not add some rainbows to your website?

Sometimes it's fun to just add a random, pretty effect to your website, just because. Because who doesn't like rainbows? And since the answer to that is "No one!", why not add some rainbows to your website?
Let's do it.
How to create a rainbow text effect on your website:
First, add a CODE content block to your page.
Then add this snippet of code and change YOUR TEXT GOES HERE to whatever you'd like your text to say:
<style> .rainbowhead { display: block; margin:auto; background: linear-gradient(330deg, #e05252 0%, #99e052 25%, #52e0e0 50%, #9952e0 75%, #e05252 100%); background-clip: text; text-fill-color: transparent; } </style><body> <h1 class="rainbowhead">YOUR TEXT GOES HERE</span></h1> </body>
And that's it! You should now have rainbow text effect on your Heading 1 text! You can change this to any heading or font size you need by changing the "h1" to match the following:
<h1> = Heading 1
<h2> = Heading 2
<h3> = Heading 3
<p> = Normal
And that's it! Isn't it pretty?
The following information was created for use with templates made with Squarespace 7.0.
Stay tuned for more tips and tricks for the new 7.1 platform!
need even more help with squarespace?
Skip the overwhelm and have your website
designed and launched in just 5 days!

What works (and what doesn't) on an effective website
Websites are living, breathing things. Websites evolve and change and so does the way users interact with your website. There are lots of web design trends and even some commonplace design layouts that everyone assumes are great - but are they really?

Websites are living, breathing things. Websites evolve and change and so does the way users interact with your website. There are lots of web design trends and even some commonplace design layouts that everyone assumes are great - but are they really?
Here are some real statistics that show what makes an effective website - and the mistakes that hurt your bottom line.
01. Custom images are better than stock
You may well know that those goofy stock images of a girl smiling with salad are pretty lame. There are lots of really good (and free) stock photo options out there these days (pssst... here's a great list), but even those don't work quite as well as having your own, unique photos. The goal is to humanize your brand because people buy from people. They want to feel like they know you or have some sense of who you are and what it will be like to work with you.
02. Rotating banner images don't work
This seems to be a dying trend, but if your site has more than one photo at the top of your homepage and is set up to rotate or slide through each image, you're wasting good photography. Stats show that only a teeny tiny group will click on one of those images, and if they do, 86% will click on the first. Even if you're just trying to showcase images, people are impatient and may not wait for that third photo to rotate through before scrolling or clicking away.
03. Too much copy can hurt you
When you're a creative biz owner, it's easy to want to share your story with beautiful, creative language. The problem with lots of text and too much flowery language is that your message gets lost. My tip I give to my web clients is to cut their copy in half. Sometime I ask them to cut it in half twice. If someone lands on your site and has to spend time looking for the jist or worse - try to make sense of what you're trying to say, you're likely to lose them. Simply say what you mean and keep is simple.
04. Photos with people SELL
As I mentioned above, people buy from people. Yes, we're all behind our little screens here, but we were wired for real connection. It's no surprise then that photos that contain people help your audience relate to you and ultimately buy from you. Even just a hand or back of someone's head works!
05. Obvious navigation names are best
Similar to #3 above, you want to keep your navigation tabs named cleanly and clearly. Page names like About and Contact are both obvious to all audiences and Google (which will crawl these to understand what your website is about). Sometimes as creatives we want to do something fun like "Get the Goodies" instead of Shop, but try to save this for the copy on that page rather than the navigation link.
Those are doable, right?! And they'll make a big different when it comes to creating an effective website for your biz.
need even more help with squarespace?
Skip the overwhelm and have your website
designed and launched in just 5 days!

Do This 15 Minute Website Audit
I'm the queen of fast and effective over here at June Mango. Heck, I build websites in 5 days or less doncha know. I know we all have businesses to run and kids to parent and shit. to. do.
I'm the queen of fast and effective over here at June Mango. Heck, I build websites in 5 days or less doncha know. I know we all have businesses to run and kids to parent and shit. to. do.
So I have a little web audit that you can do right now (ya, this second!) and it will only take you 15 minutes. So lez go:
STEP 1:
Check for broken links. Using this handy tool, you can find any broken links that might be lurking listed all in once place. Then all you have to do is head to the page where they're "linked from" (it shows you this) and fix 'em!
STEP 2:
Double check that your images have been tagged. In Squarespace, you have the option of entering a custom Filename in the image editor. Add a name that included a key search phrase for that page (ie: web-design-in-5-days.jpg). Rinse and repeat for any images missing tags.
STEP 3:
Update your footer and legal pages. Have you done this lately? Make sure the copyright in your footer is for the current year. Give your legal pages (ie: privacy policy, etc) a quick read through to make sure you haven't missed new service offerings and update that date, too. Psssst... don't have a Privacy Policy? It's illegal not to, so add one!
STEP 4:
Run through your About page. Do you have a current headshot up there? Are you smiling in it? How about your copy - is it more than 4 paragraphs? If so, cut it in half. People don't want to read your life's history - only what's relevant to your biz. Make sure your sharing why your an expert and what it's like to work with you. Add the cutesy info to the very bottom and keep it short (ie: We all love dogs, but we don't need to know more than that you have one and what it's name is).
STEP 5:
Submit your site to Google. Added pages, blog posts or other new content in the last couple months? Google may not know that! Tell Google to go crawl your pages and find all your juicy new content by entering your site
So... did it take more than 15 minutes? Fast and effective... hell ya!
Want a pro web audit to get even more help? We’re here to help.
need even more help with squarespace?
Skip the overwhelm and have your website
designed and launched in just 5 days!

Code & Cookies: How to style your Squarespace cookie notice
Just because the General Data Protection Regulation (GDPR) is causing your online business to feature information like terms, policies, consent, and cookies throughout your website, doesn't mean that it can't look good.
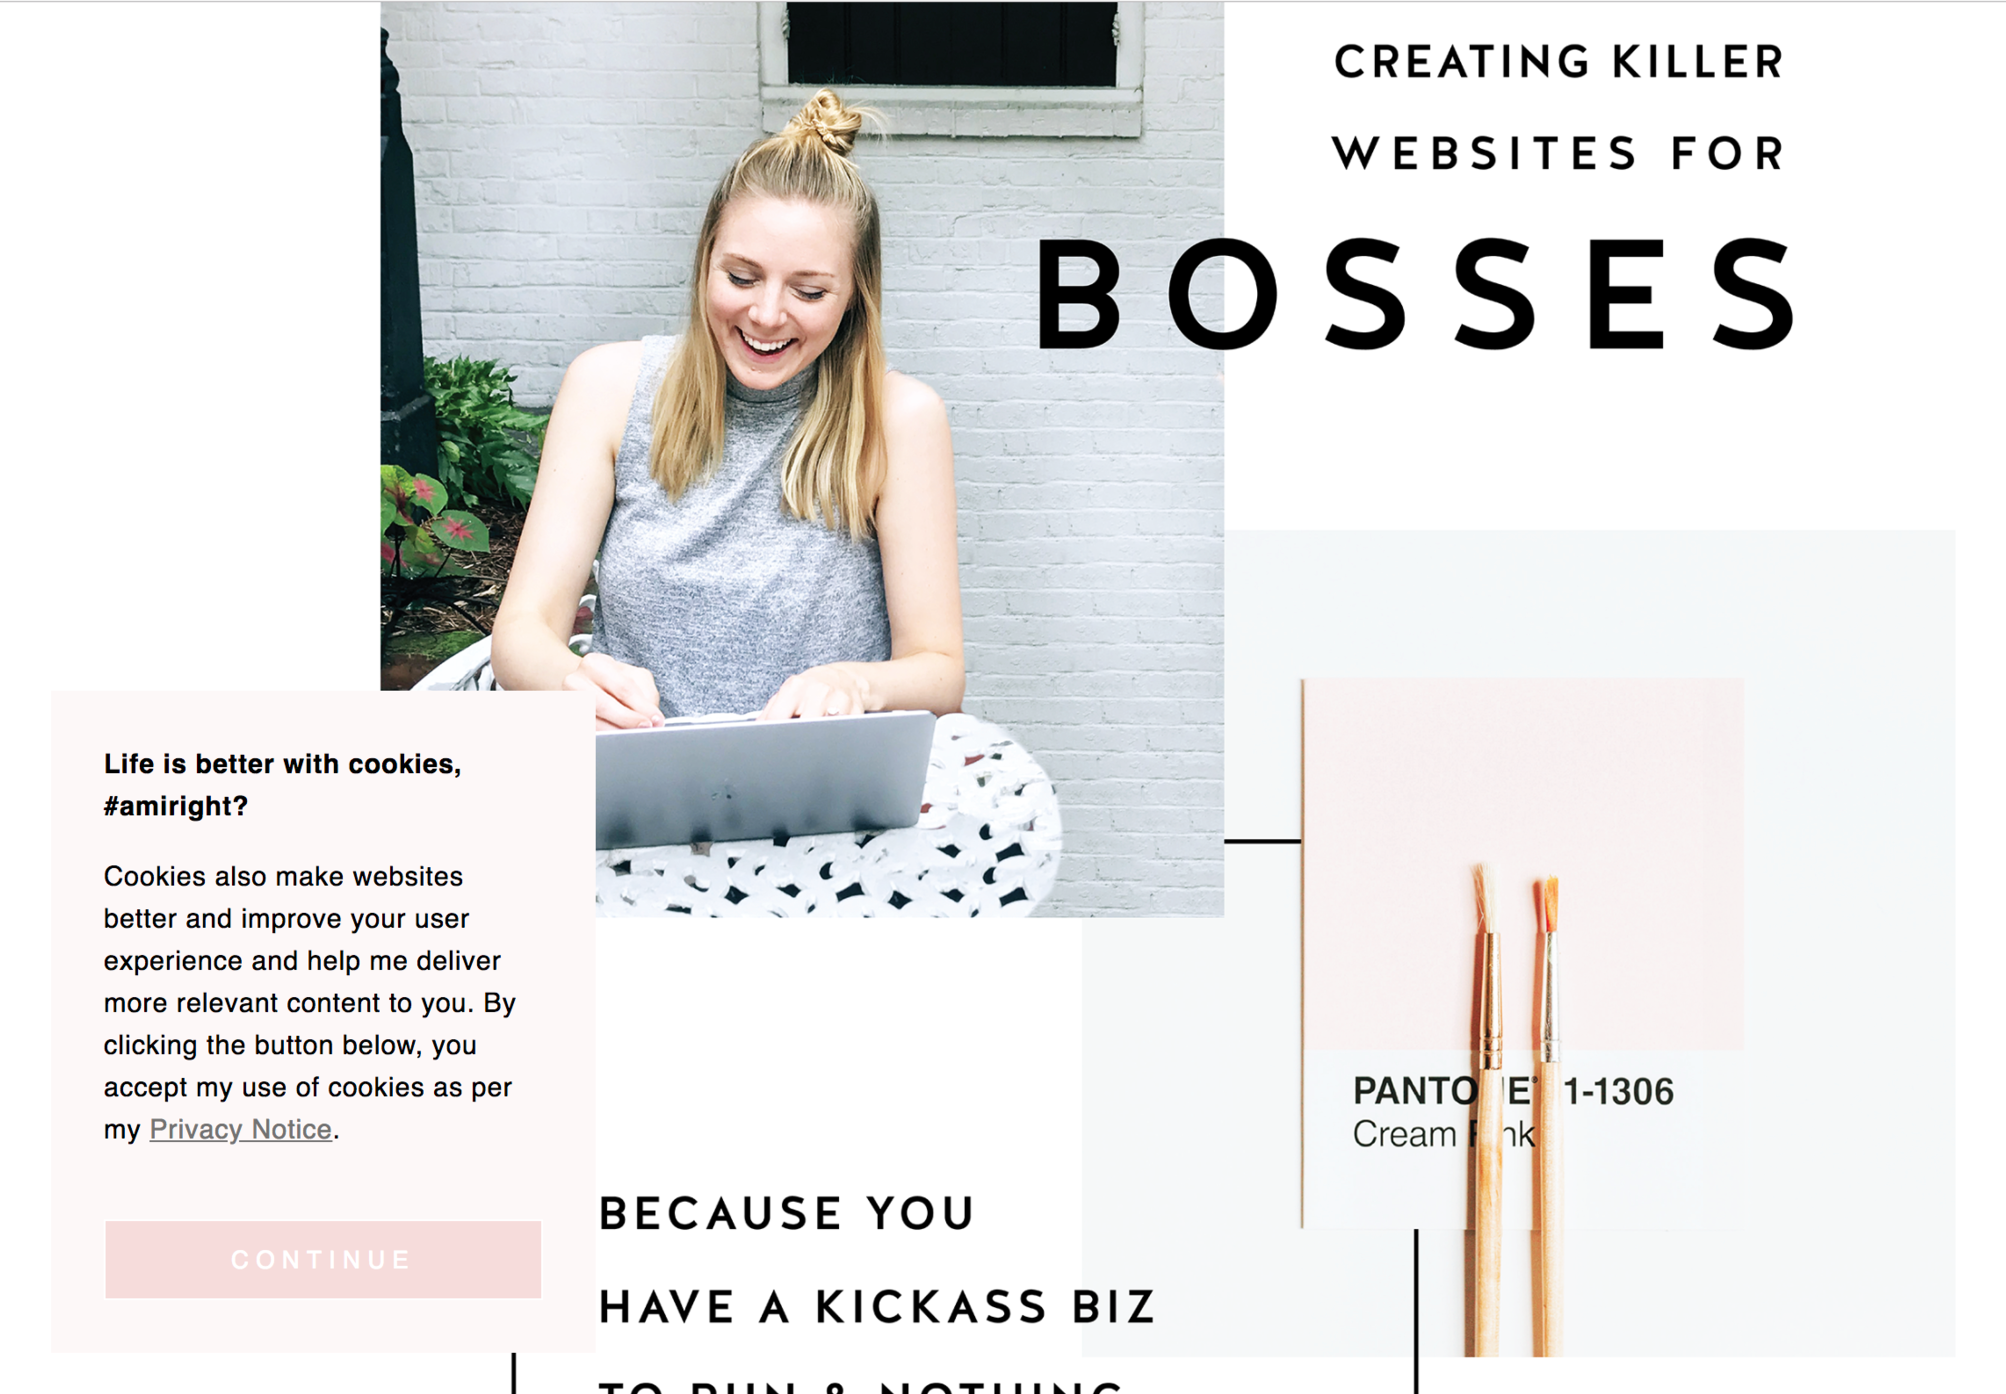
Getting a headache from all then new General Data Protection Regulation (GDPR) requirements? I feel ya. While I'm no expert, I do have one quick tip for you to help stay complient AND on brand. Just because the GDPR is causing your online business to feature information like terms, policies, consent, and cookies throughout your website, doesn't mean that it can't look good.
Check out the steps below to style your SQSP cookie notice in your branding!
There are a few simple code changes to make your notice match your branding colors. Here are the steps:
In the main Squarespace menu, click DESIGN. Then CUSTOM CSS.
Copy and paste the following code. Then change the bolded text to update your colors and fonts to match your branding!
// Cookie Notice
.cookie-notice {
background: #FDF8F8 !important;
border: none !important;
-webkit-border-radius: 12px;
-moz-border-radius: 12px;
border-radius: 0px;
color: black !important;
width: 250px;
font-family: 'Brandon Grotesque', sans-serif !important;
font-size: 85% !important;
letter-spacing: 0.03em;
line-height: 1.6em;
position: fixed !important;
top: auto !important;
bottom: 30px !important;
left: 30px !important;
right: auto !important;
padding: 30px !important;
}
.cookie-notice a {
color: hsl(0, 1%, 45%);
}
.cookie-notice .accept {
width: 100%;
padding: 10px !important;
background: #F6DCDB;
color: #fff;
font-family: 'Brandon Grotesque', sans-serif !important;
text-transform: uppercase;
font-size: 90%;
letter-spacing: 0.3em;
-webkit-border-radius: 5px;
-moz-border-radius: 5px;
border-radius: 0px;
margin-top: 0 !important;
border-top-style: none !important;
border-right-style: none !important;
border-bottom-style: none !important;
border-left-style: none !important;
}
@media only screen and (max-width: 640px) {
.cookie-notice {
width: 150px;
font-size: 70% !important;
top: 10px !important;
bottom: auto !important;
left: 10px !important;
right: auto !important;
padding: 10px !important;
}
}
And there ya go! Done and done!
The following information was created for use with templates made with Squarespace 7.0.
Stay tuned for more tips and tricks for the new 7.1 platform!
need even more help with squarespace?
Skip the overwhelm and have your website
designed and launched in just 5 days!

HOW TO CREATE A SLIDER WITH TEXT BLOCK OVERLAY
Adding a slider can create a lot of dynamic engagement with your content. I think this is a great item to feature on a custom blog layout! You can also add it to the homepage, or anywhere really!

Adding a slider can create a lot of dynamic engagement with your content. I think this is a great item to feature on a custom blog layout! You can also add it to the homepage, or anywhere really!
This quick customization allows you to customize the design of the caption that appears on top of the image. By adding a background box and some pretty text, your audience will definitely get clicking!
Ready to learn how? Let's do it.
How to create a slider with text block overlay
on your Squarespace website:
First, add a Slider content block to your page (Gallery > Slideshow)
Then add this snippet of code below to your Custom CSS (Design > Custom CSS)
To change the color of the text or background box, change the bold parts of the code below.
/* slider with text overlay */
.sqs-block-gallery .sqs-gallery-block-slideshow {
max-height: 500px !important;
.sqs-gallery-design-stacked-slide {
max-height: 500px !important;
overflow: hidden;
img {
transition: all ease-in-out 300ms !important;
}
}
.meta {
background-color: white;
max-width: 60% !important;
transition: all ease-in-out 700ms !important;
-webkit-transition: all ease-in-out 700ms !important;
-moz-transition: all ease-in-out 700ms !important;
-ms-transition: all ease-in-out 700ms !important;
}
.meta-title {
text-align: center;
font-size: 16px;
text-transform: uppercase;
letter-spacing: 2px;
padding: 6px 20px;
color: #042663;
}
.meta-description p {
text-align: center;
color: #9DB0D8;
font-size: 12px;
letter-spacing: 1px;
padding-top: 4px;
max-width: 550px;
}
.meta-description a:link {
color: #9DB0D8;
text-align: center !important;
}
.sqs-gallery-design-stacked-slide:hover {
img {
-webkit-filter: blur(3px);
filter: blur(3px);
}
}
@media (max-width : 667px) {
.meta {
display: block !important;
max-width: 70% !important;
min-width: 70% !important;
left: 50% !important;
}
.meta-title {
font-size: 12px;
}
.meta-description p {
display: none;
}
}
}
You should now have a slider with text block overlay!

All you have to do now is upload your images and add your Title Captions!
(To do this, hover over a slider image and click the gear icon. Then add your title! If you want to add the "Read Post" text, simply add this to the description box and link it to whatever page or post you'd like.)
And that's it!
The following information was created for use with templates made with Squarespace 7.0.
Stay tuned for more tips and tricks for the new 7.1 platform!
need even more help with squarespace?
Skip the overwhelm and have your website
designed and launched in just 5 days!

HOW TO DISPLAY GALLERY CAPTIONS ON A MOBILE DEVICE
Ever notice how sometimes a perfectly amazing feature set up for a desktop browser doesn't quite translate like you want it to on mobile? I've found a way to modify the gallery caption display so that it will always work no matter what device you're on!
Ever notice how sometimes a perfectly amazing feature set up for a desktop browser doesn't quite translate like you want it to on mobile? It's a bummer and can make you rethink the whole design.
This happened to a client's site recently when I set up a gallery of her art work and displayed the name of each painting as a caption. The default gallery caption option displays the caption when you hover your mouse over the image. Cool! But not so cool on a mobile device where it just doesn't display at all! Womp womp.
So, I've found a way to modify the caption display so that it will always work no matter what device you're on.
First, head into the Design panel.
Click Custom CSS.
Paste in the following code:
/*** DISPLAY GALLERY CAPTION ***/
.yui3-lightbox2 .sqs-lightbox-meta {
opacity: 1 !important;
background: rgba(0, 0, 0, 0.7) !important;
}
@media only screen and (max-width: 1024px){
.yui3-lightbox2 .sqs-lightbox-meta{
bottom: 0px !important;
}
}
And that's it!
You should now be able to view the gallery captions
on both mobile and desktop browsers.
The following information was created for use with templates made with Squarespace 7.0.
Stay tuned for more tips and tricks for the new 7.1 platform!
2 Easy Newsletter Customizations for Squarespace
More customizations for all you Squarespace lovers today! This one changes the standard newsletter block. I find that this can be a dead giveaway that your site is built on Squarespace, so why not jazz it up? These two handy code snippets will allow you to customize your submit buttons as well as the form fields. As always, it's super easy - just copy and paste!
More customizations for all you Squarespace lovers today! This one changes the standard newsletter block. I find that this can be a dead giveaway that your site is built on Squarespace, so why not jazz it up?
These two handy code snippets will allow you to customize your submit buttons as well as the form fields. As always, it's super easy - just copy and paste! Below is the example newsletter with the design changes.
01. Newsletter Button Font
There are a few little code changes you can make to jazz up the plain "Read More" to match your branding colors. Here are the steps:
In the main Squarespace menu, click DESIGN. Then CUSTOM CSS.
Copy and paste the following code:
/*** NEWSLETTER BUTTON - TEXT AND BACKGROUND COLOR ***/
.newsletter-block .newsletter-form-button{
font-family: Kessel !important;
letter-spacing: .2em;
}
The red highlighted text is where you can change your font and background color for the button. Do not edit the other text! (You can also add this code to an individual page if you don’t want it to affect all newsletter buttons on your site).
02. Open Form Fields for the Newsletter
There are a few little code changes you can make to jazz up the plain form fields to match your branding colors and feel more modern. Here are the steps:
In the main Squarespace menu, click DESIGN. Then CUSTOM CSS.
Copy and paste the following code:
/*** NEWSLETTER FORM FIELDS ***/
.newsletter-form-field-element {
background: none !important;
border-top: none !important;
border-left: none !important;
border-right: none !important;
border-bottom: solid 3px #F2CBCB !important;
}
/*** NEWSLETTER BUTTON BORDER ***/
.newsletter-block .newsletter-form-button{
border-bottom: solid 3px #F2CBCB !important;}
The red highlighted text is where you can change your form's line color. You can also make the line thicker or thinner by changing the pixel weight (ie: 1px for thinner and 6px for thicker). Do not edit the other text! (You can also add this code to an individual page if you don’t want it to affect all newsletter form fields on your site).
And that's it!
The following information was created for use with templates made with Squarespace 7.0.
Stay tuned for more tips and tricks for the new 7.1 platform!
NEW!
A templated guide to messaging magic
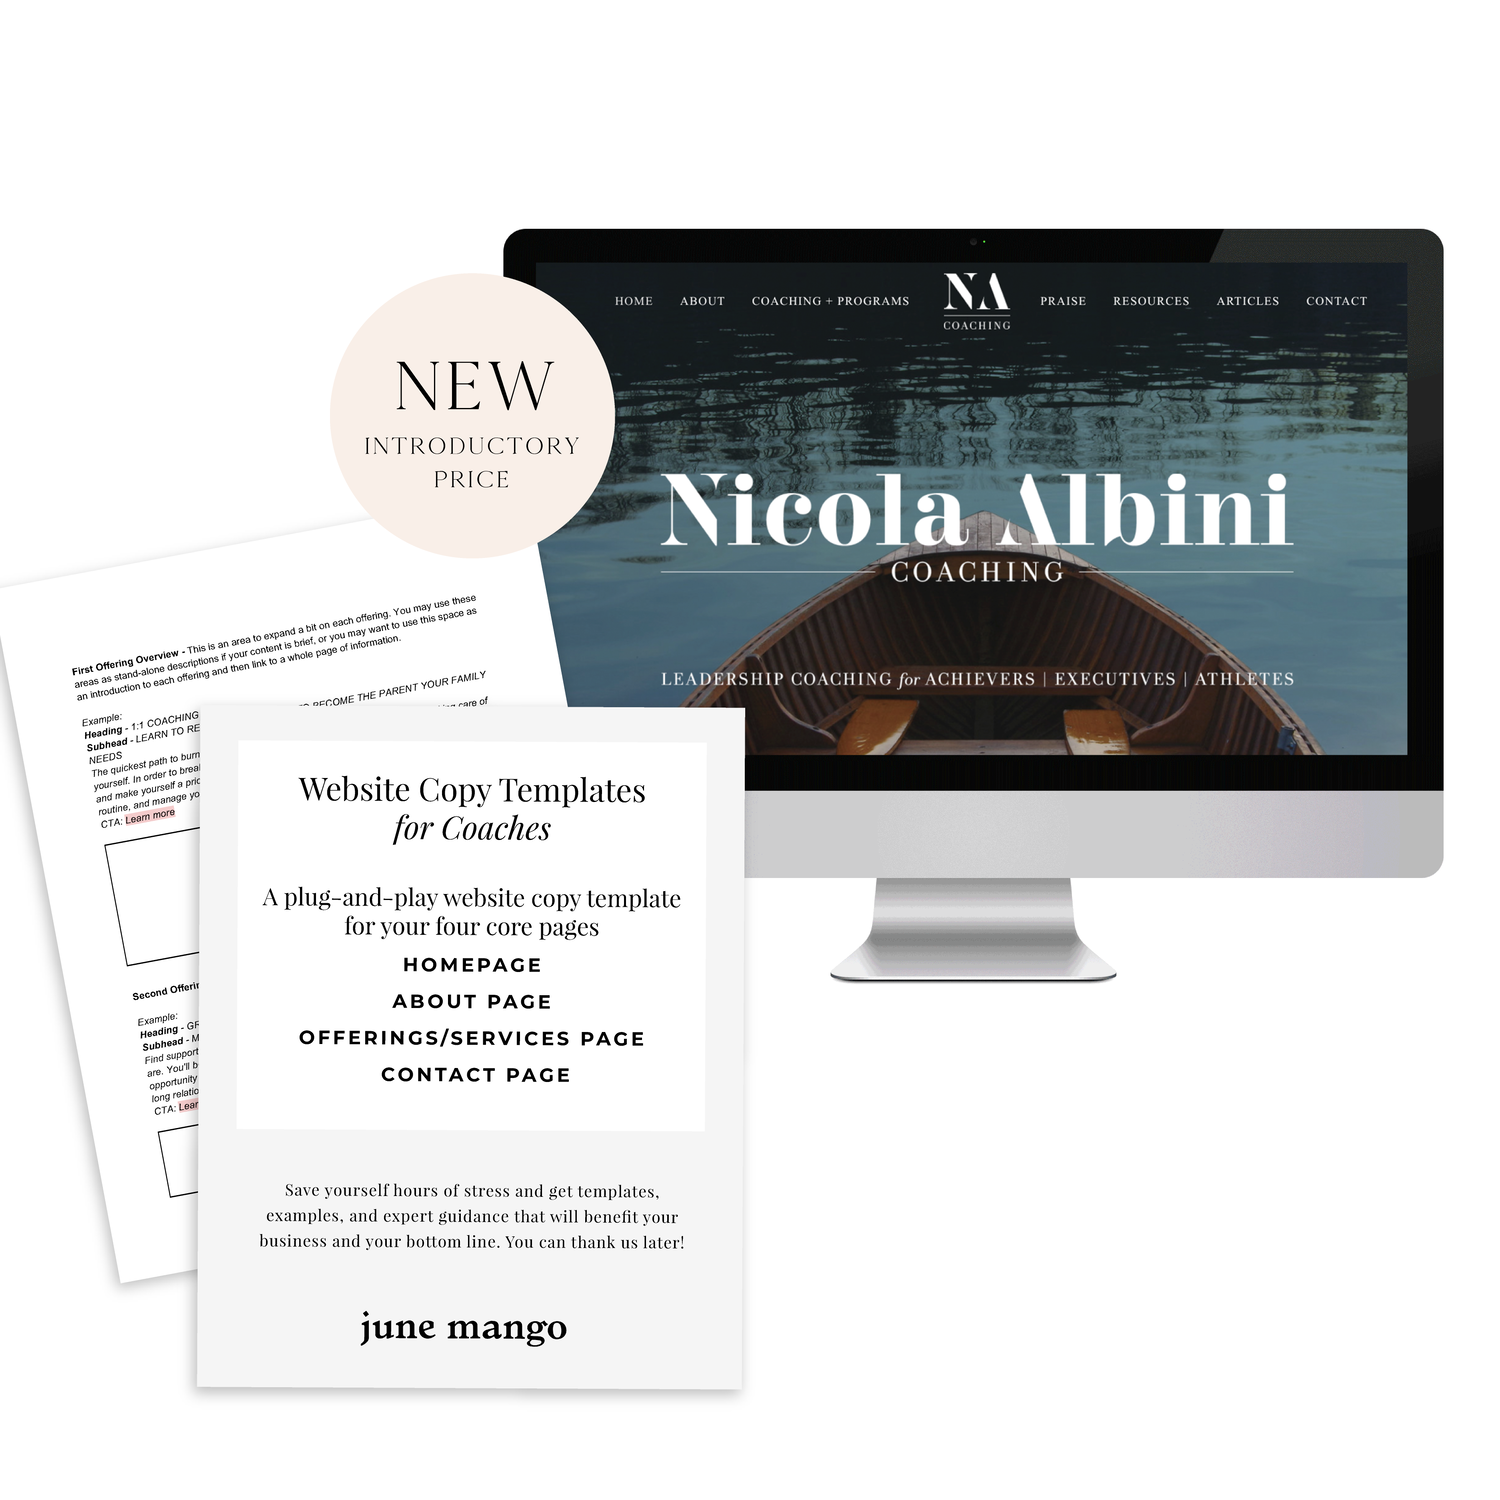
A plug-and-play website copy template for your four core pages (Home, About, Offerings, Contact). Save yourself hours of stress and get templates, examples, and expert guidance that will benefit your business and your bottom line.