
SIMPLE TIPS FOR MANAGING YOUR INBOX
When I talk to other creative biz owners, the most common complaint they have at any given time is about their out-of-control inbox. "Who has the time?" they say, or "It's just too overwhelming." And inbox zero? "Impossible!" There are a few major problems with having an inbox that is overflowing...
When I talk to other creative biz owners, the most common complaint they have at any given time is about their out-of-control inbox. "Who has the time?" they say, or "It's just too overwhelming." And inbox zero? "Impossible!" There are a few major problems with having an inbox that is overflowing:
Things get lost. Then tasks get left behind and client projects get delayed.
Clients feel ignored. This is my #1 no-no as a biz owner!
You feel overwhelmed or drained! You don't have time to do what lights you up / what you love.
I promise that this does not have to be the case!
I have some simple tips for managing your inbox that will help you get back to doing what you love.
Touch it once. I admit that I have a hard time with this one, but it's really helpful. The idea is that you only "touch" an email one time, which means that if you read it, respond right away rather than clicking over to the next email or marking it "unread". This helps you respond to the email without letting it linger in your inbox. But what if the email takes a lot of thought or is a revision on a logo...
Add it to your to-do list. If the email is a client asking you for something that you know will take awhile, add it to your to-do list. Do not use your inbox as your to-do list!! Instead, write the client back to confirm you received their email, and let them know when they can expect your response/next round of deliverables.
Canned responses. You guys, canned responses save my sanity. Canned responses are email templates that you can use for different types of emails. I have a canned response for inquiries, client on-boarding, scheduling, confirming calls, and about 15 more. Heres a handy little guide that walks you through how to set them up on Gmail.
Boomerang for Gmail. Sometimes you may want a reminder to follow up with someone after a a few days or if they haven't responded to you (maybe because their inbox is crazy!). In Gmail, you can install Boomerang, which allows you to set follow up reminders on any given email. For example, maybe you sent out a proposal to your dream client and want to make sure to follow up if they haven't responded within a week. Boomerang can push that email back into your inbox after a week has gone by if your dream client hasn't responded! It also allows you to schedule your emails to send out at a later date.
Archive. If you're starting from a point where you have hundreds and hundreds of emails, just start by archiving them. Archived emails are still around (not deleted), and if you just do a simple search, you can easily find them without cluttering up your inbox.
Those are my top 5 tips for managing your inbox! Here's my inbox for proof that it can be done!

Did I leave any out that you've tried? Let me know and feel free to share your cleaned up inboxes with me!
ps- Gmail did not promote this post! This is just my genuine opinion and what works for me but if Gmail wants to throw some $$ my way, I wouldn't be mad at it. Heyyyyyyy Google.


HOW TO CREATE A SCROLL EFFECT FOR YOUR WEBSITE MOCKUP
Since Instagram is such a great place to connect and share socially, I love sharing recent Go Live in 5 projects on there! The problem I always have with sharing websites is that it's hard to get a sense of an interactive site in a static square image. So I created a scroll effect and shared it as a video. This give a MUCH better sense of the site when you actually view it online.
Since Instagram is such a great place to connect and share socially, I love sharing recent Go Live in 5 projects on there! The problem I always have with sharing websites is that it's hard to get a sense of an interactive site in a static square image. So I created a scroll effect and shared it as a video. This give a MUCH better sense of the site when you actually view it online.
Since I've been sharing these scrolling website mockups, people just keep asking me: How do you create a scroll effect for your website mockup?? So today, I'm listing out the exact step-by-step process so you can do it, too!
*Tiny note: I use QuickTime and Photoshop for this process (and I have a Mac). This is not a sponsored post, but these are the programs I recommend.
Step 1
01. Open QuickTime
02. Click File > New Screen Recording
03. Click the red record button

04. Adjust the selection tool to crop just the screen

05. Click Start Recording
06. Scroll through the page you want to record
07. Save the recording
NEW!
a templated guide to
messaging magic
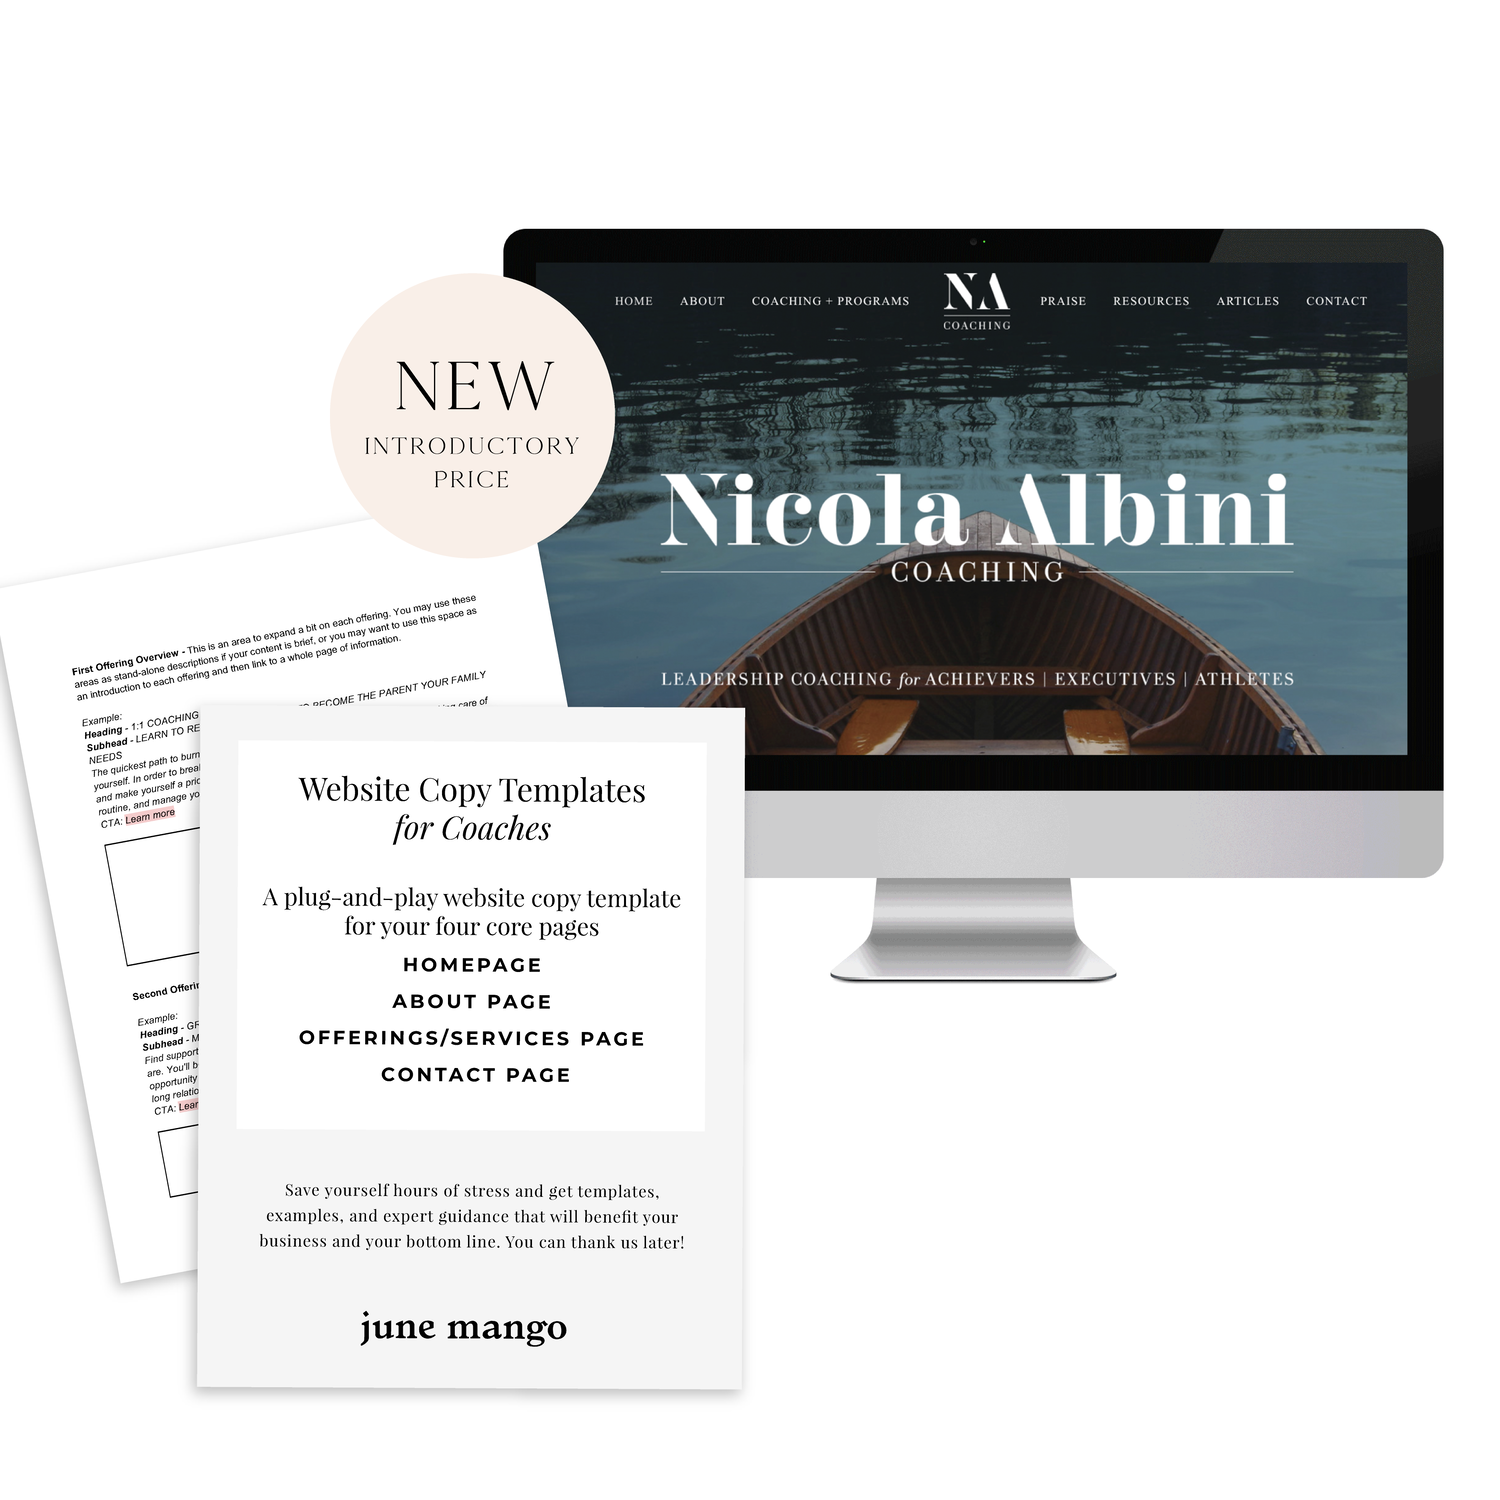
A plug-and-play website copy template for your four core pages (Home, About, Offerings, Contact). Save yourself hours of stress and get templates, examples, and expert guidance that will benefit your business and your bottom line.
get your template now >
Step 2
01. Open Photoshop
02. Add your computer mockup to layer 1
03. Add a shape that covers the computer mockup screen to layer 2
04. Drop in your recorded file (should be mp4 format)
05. Create clipping mask that pulls the recording into the shape you created from step 03
06. Open the Timeline (usually below your art window)
07. In the dropdown that says Create Frame Animation, change that to Create Video Timeline. This will add all your layers to the timeline.
08. Pull each layer in the Timeline to match the length of your video
09. To save, click Export > Render Video
That's it!
BONUS!

Want to download the Photoshop file and save a step?
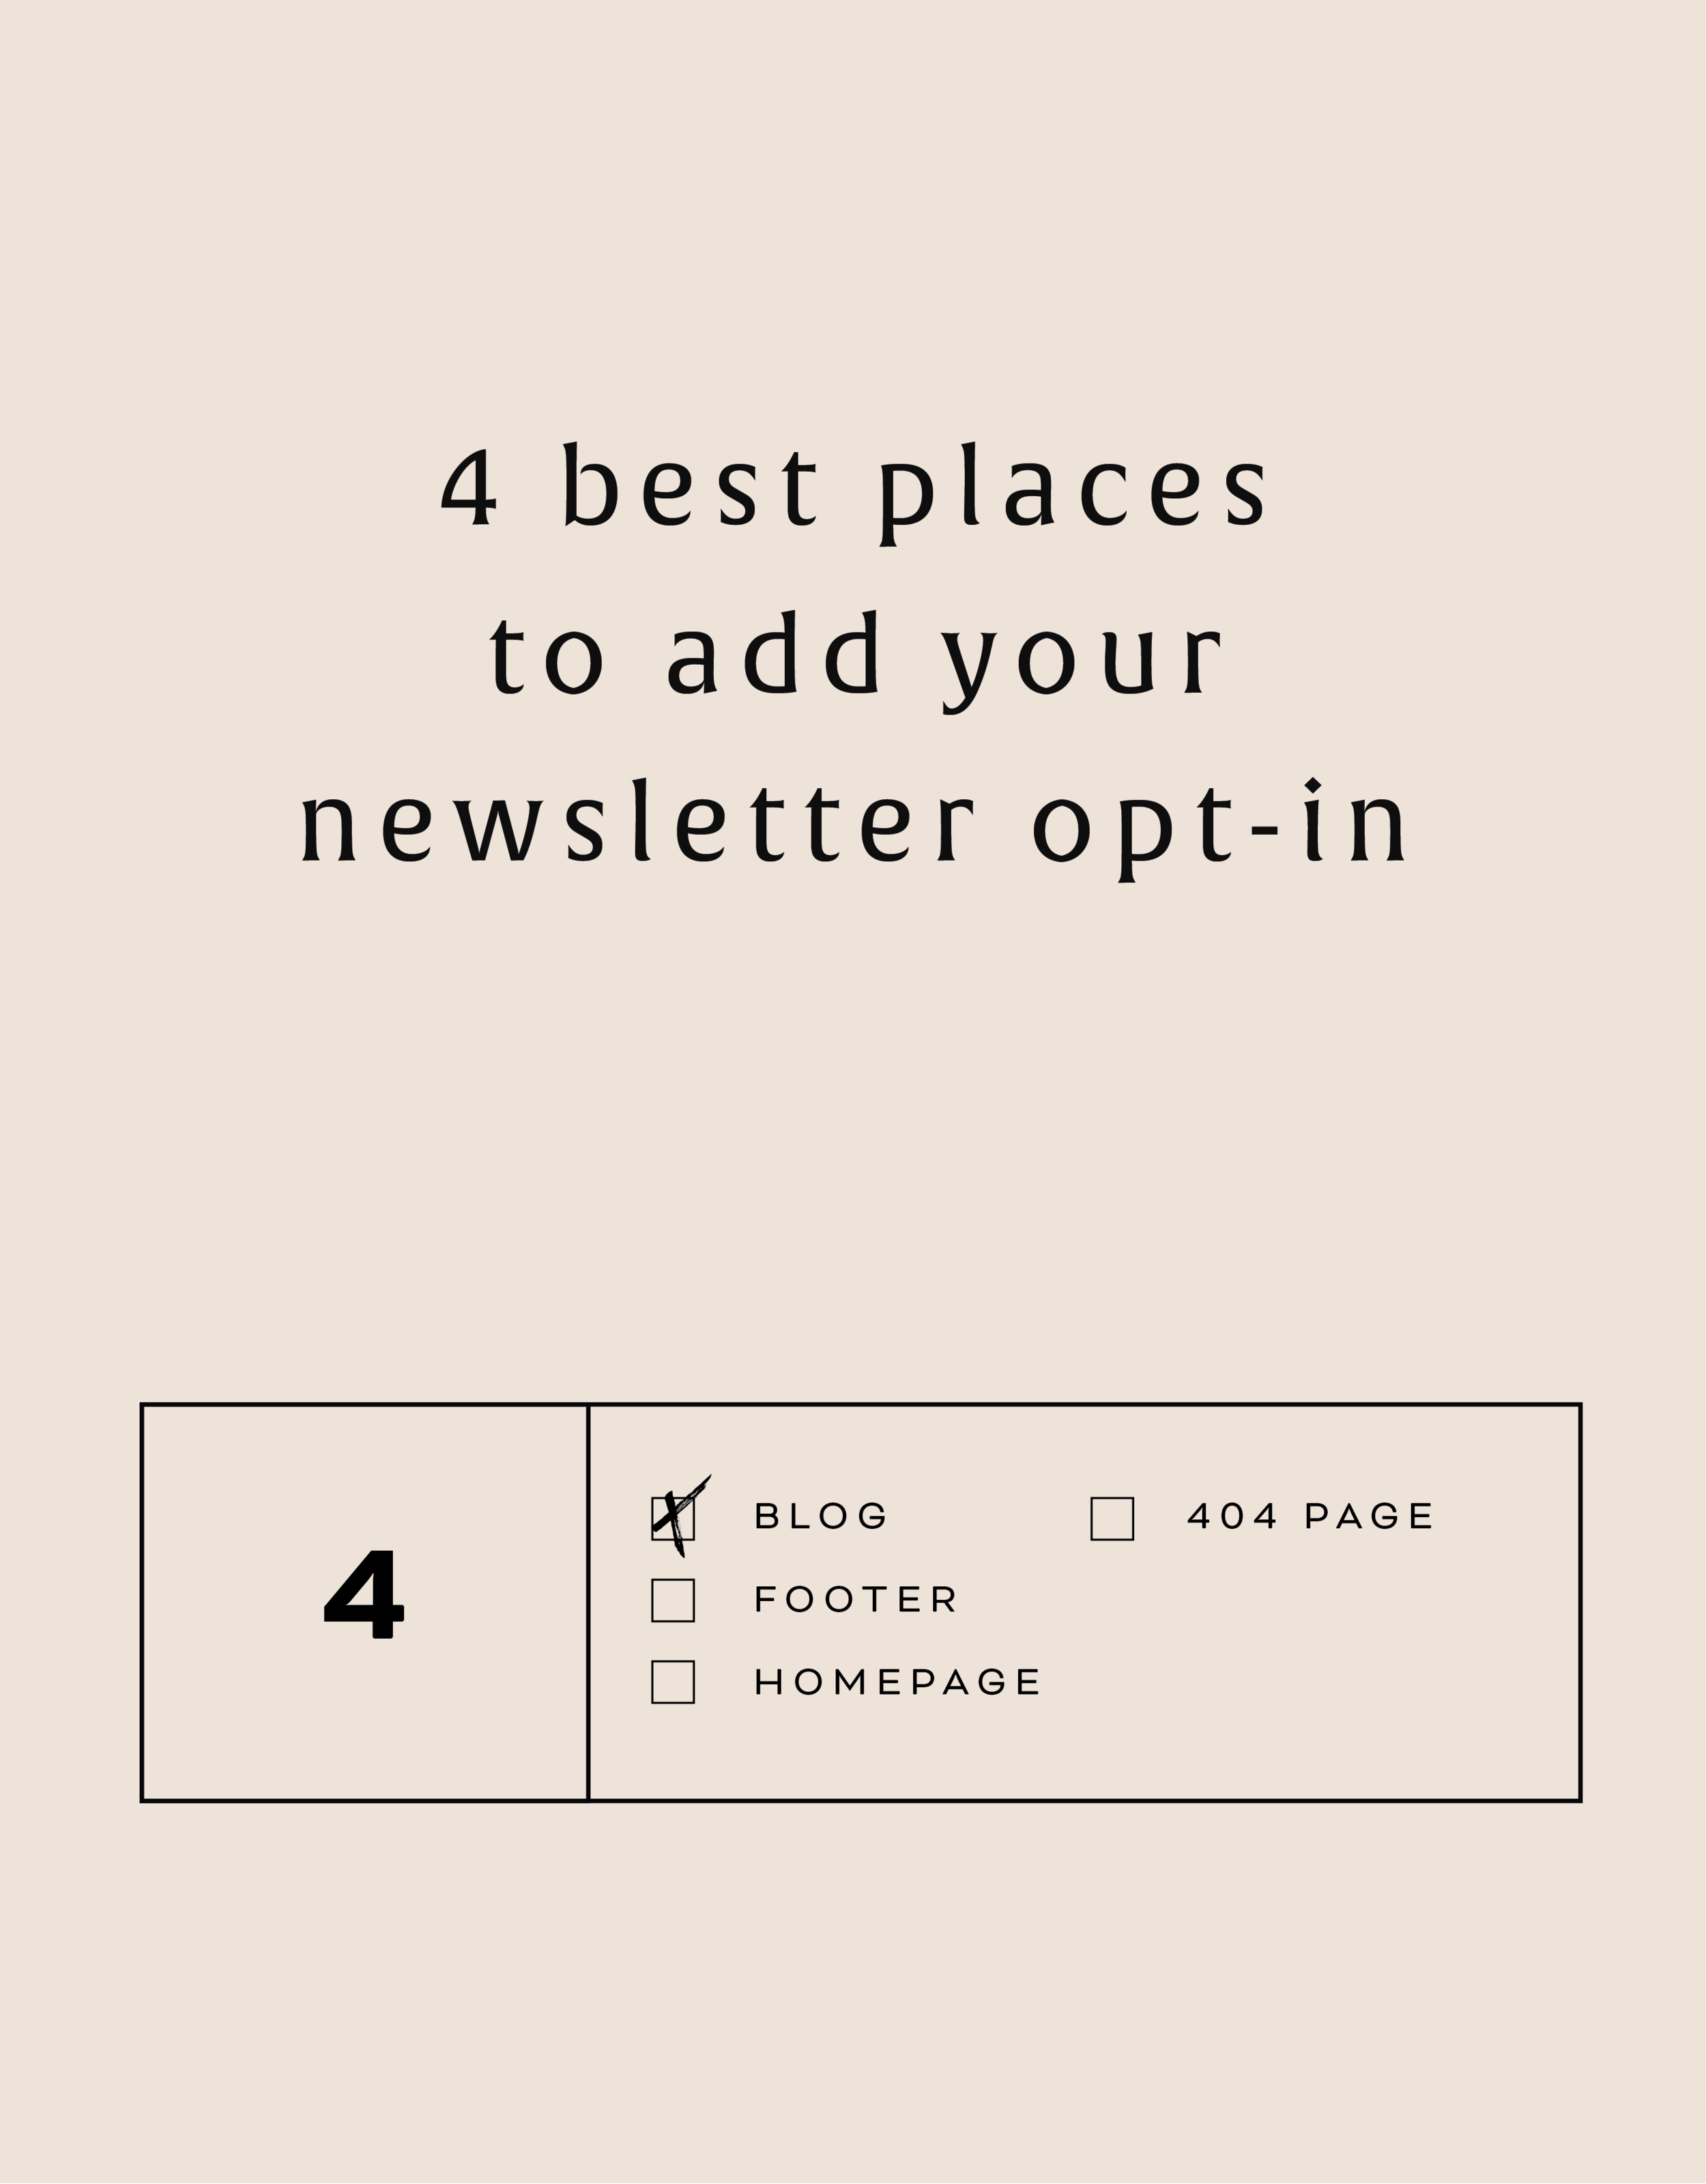
The 4 best places to add your newsletter opt-in
Growing your newsletter list is so important when you run an online business. It can help you keep in touch with your dream clients, build trust with your audience and promote new offerings. But the question my web clients always ask is: Where is the best place to add my newsletter opt-in or sign up form?
Growing your newsletter list is so important when you run an online business. It can help you keep in touch with your dream clients, build trust with your audience and promote new offerings. But the question my web clients always ask is: Where is the best place to add my newsletter opt-in or sign up form?
There are 4 places I ALWAYS add the newsletter opt-in forms on any website.
Blog
Adding the newsletter opt-in to your blog allows you to capture people who are already interested in what you have to say. They are on your blog reading all of your juicy content, so why not try to get them onto your newsletter list where you have even juicier content! I like to make sure this opt-in is specific, and maybe different from other sign up forms elsewhere on the site. For example, it should incentivize them to sign up with the promise of sharing your expertise for free with a worksheet, guide, etc. Adding this opt-in to the sidebar of your blog is one of my favorite places to engage newsletter subscribers on your site.
Footer
It's the one place people will see no matter what page of your website they land on (or click to!). So make it work for you by adding a newsletter sign up form. Repetition of views will also increase the chance that people will sign up. I like to keep this one more generic with a description of what you typically send out vs. a specific freebie or promo.
Homepage
You probably guessed this one, right? But do you know where on the homepage you should add your opt-in? The rule of thumb is above the fold
(aka: the amount of the webpage a user sees before needing to scroll down).
Ideally, you will still be able to communicate your mission statement (who you are, what you do, and who you do it for) before the newsletter. No one is going to sign up for a newsletter if they don't know who the heck you are yet! But grabbing their attention before they scroll down the page is a great way to ensure they get on your list.
404 Page
Have you given much thought to your 404 page? It's a handy little page that pops up when someone clicks a broken link or types a URL wrong. It has so much potential to be interesting and engaging, which is important for keeping your audience on your site! Besides giving them a link back to your homepage, you can also sneak in a newsletter opt-in here! It's an unexpected place to get that person to sign up.


